Hi guys!
A while ago I was developing my personal website to demonstrate my web coding skills and I was searching for a good free host for my website. Personally, I never trust free services because we end up being the product somehow. Turns out that I discovered during my research that Microsoft Azure can host simple websites or landing pages without any cost (I’m quite sure that AWS offer something similar). My concern about it was if at some point my website has many visitors or I upload “heavy” content, I would be charged in some way. Based on that, Azure seemed to be more simple and safe in this context rather than AWS, for example (I’ve heard many people complain about huge costs all of a sudden from AWS). As the idea of the website was something very simple, just like a resume and main professional information I decided to give it a try.
Here are the steps that I had to take in order to have my website live on Azure:
- Create a repository on Github to host my code;
- Register for my Azure account;
- Create a Static Web Page inside Azure services;
- Configure my subscription (free) to host the website;
- Link my Github repository with Azure;
- Buy a custom domain using CloudFlare;
- Pointing my CloudFlare domain to be hosted inside Azure;
- Manually configure my OpenSSL certificate (security measure to enable HTTPS).
My focus will be on Azure and OpenSSL certificate, so I’m gonna go quickly through the steps that I took until getting there. Have in mind that I used VSCode to develop the HTML, CSS and Javascript code and Git to send it to my Github repository. Basically when you have the code in a local repository you link it to Git branch that’s gonna take the content and the change you’ve made and send it to your Github repository.
Github repository using Git
First of all you need to install Git, go to https://git-scm.com/install/ and find out the best suit for you system.
Create an account on Github: https://github.com/ and create a repository for your project.
On your Terminal navigate to the directory of your project using the command: “cd [path to your project]”. Once there you need to create your local git repository “.git” following these commands:
git init This is gonna create your repository. Next:
git add .This command add all the files in your project to be commited to your Github repository. You can also specify a file using its name instead of “.” – Next:
git commit -m "Initial commit"The command above creates a commit to be sent, the message can be written inside the quotes. To connect to the Github repository:
git remote add origin [url of your Github repository]You can find the URL on your Github project page:
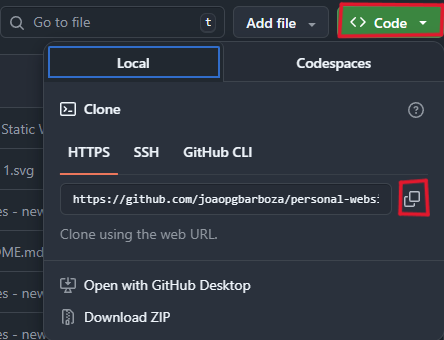
Copy the url and paste it on the command.
With it done, it’s time to send your files to Github:
git push origin masterCheck your Github project page to see if the files are there. If it’s okay, all done.
Azure environment
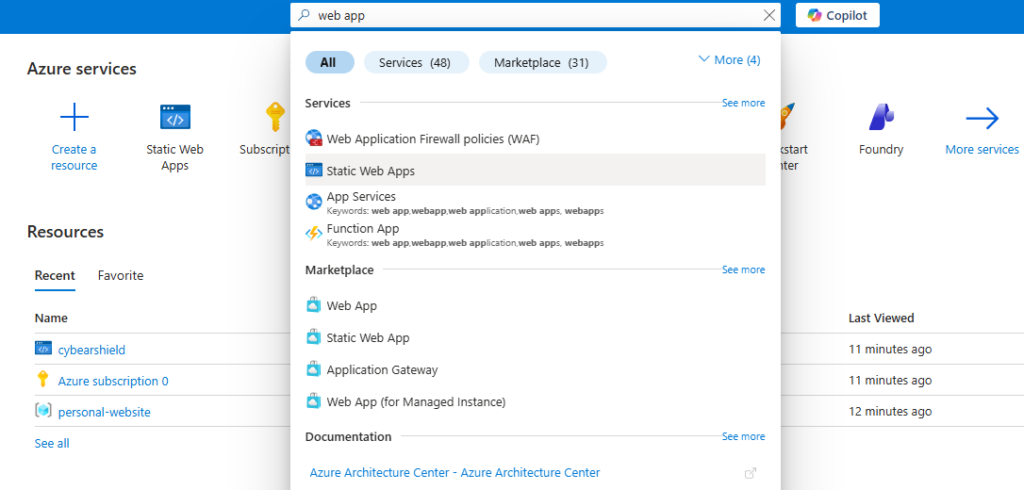
After registering on the Dashboard search for Static Web Apps.
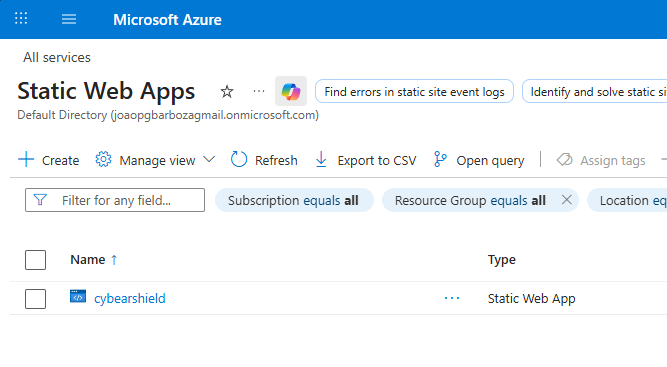
Click on the link to the page and create a new Static Web App through the button “+ Create”:
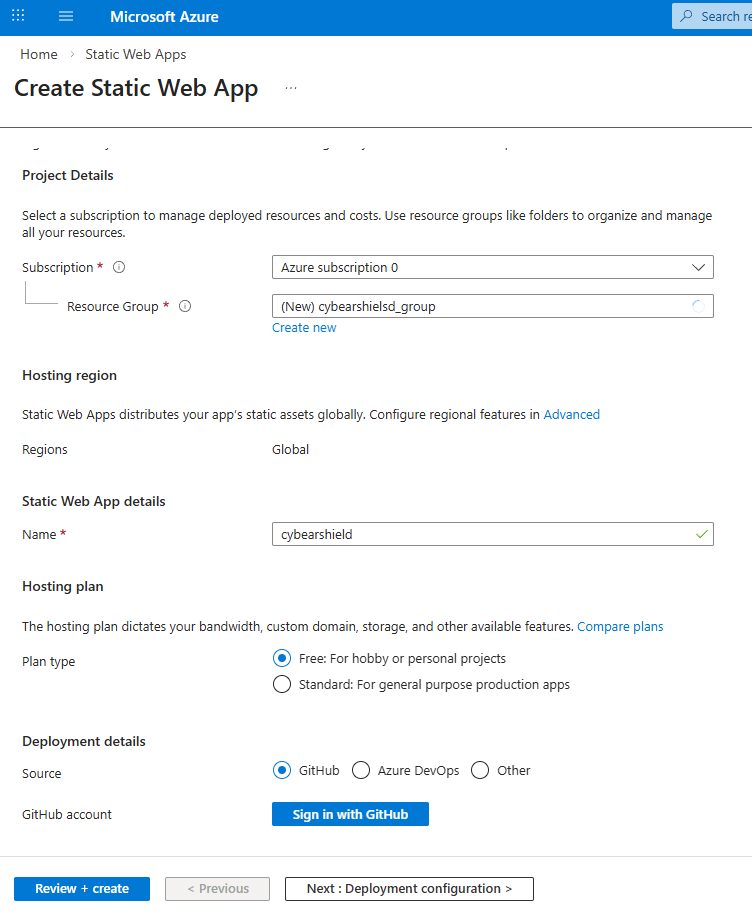
Fill the blanks with the information needed, remember to choose “Free: for hobby or personal projects”. And Soure = Github, you should sign in with Github as well. Then follow the steps to create it and on “Deployment configuration” keep it as Github.
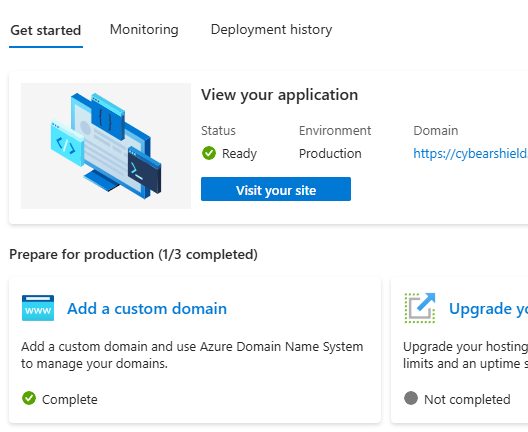
Click on “Add a custom domain”, that’s when you are gonna point your Cloud Flare domain otherwise your website url is gonna be something like: azure-static-web-apps-lemon-cliff-071cc0110.yml
After that, your website is live. However, it doesn’t have the OpenSSL certificate allowing HTTPS connection, what causes to make your website not reliable and having security connection issues, meaning that the data is not encrypted when crossing the web from the server to its final client user. For that you need to configure it manually and you can do that via Open Shell if you are using Windows.
But first you need going to CloudFlare dasboard > Domains > SSL/TLS > Origin Server > Create Certificate > Create. Copy the “Origin certificate” key to a notepad, that’s your public key, and repeat the process in another notepad tab for the second key – the private key. the firt one is .pem and the second is .pem.key file.
Now go to your terminal and check if you have openssl intalled by the command:
openssl versionIf you don’t have it installed go to the website: slproweb.com/products/Win32OpenSSL.html:

You can choose the one that match your system and install the msi and go to the System Properties. To open the window you can run the command:
sysdm.cpl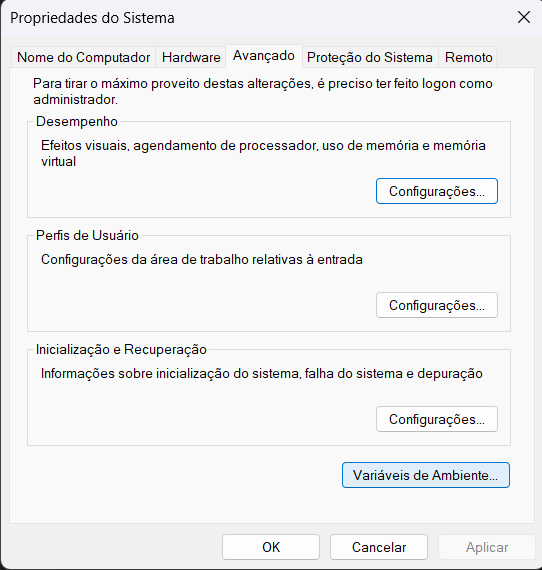
Click on “Environment Variables”, then:
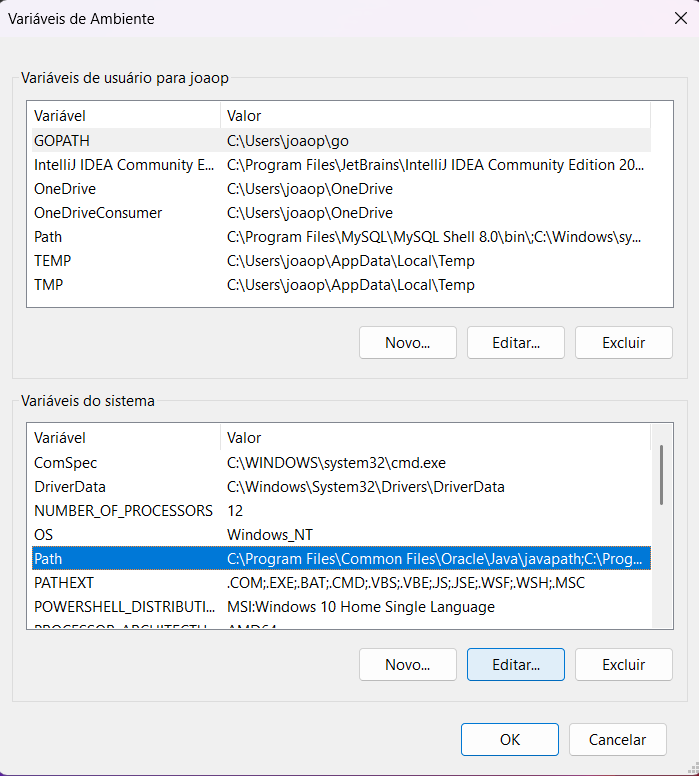
Select “Path” and click on “Edit…”
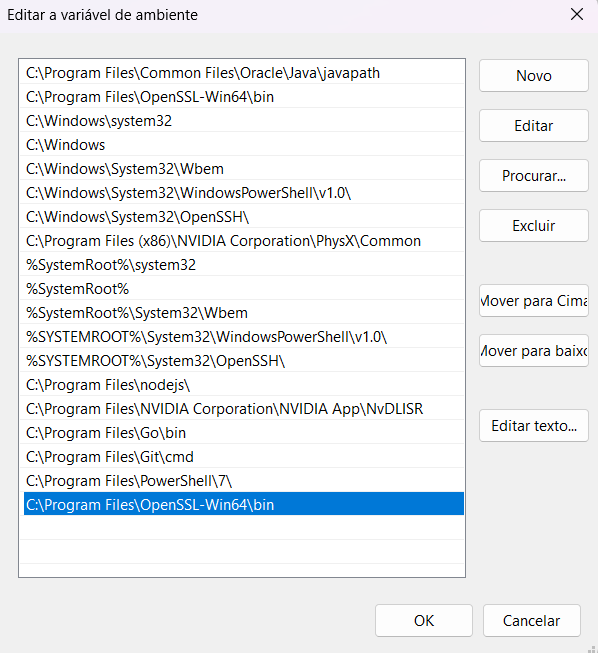
Click on “New” and type the path “C:\Program Files\OpenSSL-Win64\bin” as shown above.
Now go to your command prompt as administrator, navigate to the directory that you saved your previous cert files and type:
openssl pkcs12 -inkey [second].pem.key -in [first].pem -export -out [website url].pfxAfter that you are gonna have you .pfx file.
TSL/SSL certificates are extremely imprtant for any website, without it you and your visitors become vulnerable to attacks or data breaches once you don’t have encryption for the data.
That was my experience and journey doing this project and as you followed all the way through, I hope it can help you or give you some knowledge that you didn’t have before. Thanks for your time and attention.